

Have you ever been in a room that looks stunning but feels impractical for daily life? Or a space that’s beautiful on Instagram but awkward to actually live in? This is a common disconnect where aesthetics are prioritised over the actual human experience. The bridge between a beautiful space and a truly liveable home is a powerful methodology: design thinking.
At its core, design thinking is a human-centered problem-solving process that puts people first. It’s a shift from asking “How should it look?” to asking “How will it be lived in?” For architects and designers, it provides a structured framework to move beyond trends and create spaces that are not only beautiful but also deeply functional, personal, and meaningful.
This guide will break down the 5-step design thinking process in interior design and show you how it transforms a house into a home that genuinely supports and enhances your life.

While the term originated in the world of product design and tech innovation, its principles are perfectly suited for creating private homes. What is design thinking in interior design? It’s a structured approach to solving problems by understanding the user’s needs and developing solutions to meet those needs. It’s less about a specific style and more about a specific mindset.
Traditional design can sometimes focus heavily on the visual outcome—the colour palette, the furniture selection, the material finishes. Design thinking goes deeper. It prioritises the human experience within the space. It considers your daily routines, your emotional responses, your frustrations, and your moments of joy. The goal is to design a home that actively improves your quality of life, not just one that looks good in photographs.
The five steps of design thinking—Empathize, Define, Ideate, Prototype, and Test—are not a rigid, one-way street. Think of it as a flexible, iterative cycle. Insights from the “Test” phase might send the design team back to the “Ideate” phase to brainstorm new solutions, or even back to “Empathize” to better understand a newly discovered need. This flexibility ensures the final design is thoroughly considered and refined, reducing the chance of costly mistakes or post-renovation regrets.
Every home has problems, whether it’s a lack of storage, poor natural light, or an awkward layout that disrupts family flow. Design thinking frames these issues not as flaws in the house, but as problems to be solved for the people living there. It transforms the role of a designer from a decorator to a creative problem-solver, dedicated to making your space work seamlessly for you and your family.
To make this process clear, we’ll follow a single, relatable example through all five steps: a client who is struggling with the new reality of working from home.
The first and most crucial step is Empathize. The goal here is to gain a deep, empathetic understanding of your lifestyle, daily routines, habits, frustrations, and emotional needs. It’s about listening to what is said and observing what is unsaid.
The Define stage is where you synthesize the findings from the empathy stage into a clear, actionable problem statement. This is critical because it reframes the challenge in a human-centric way, ensuring you’re solving the right problem.
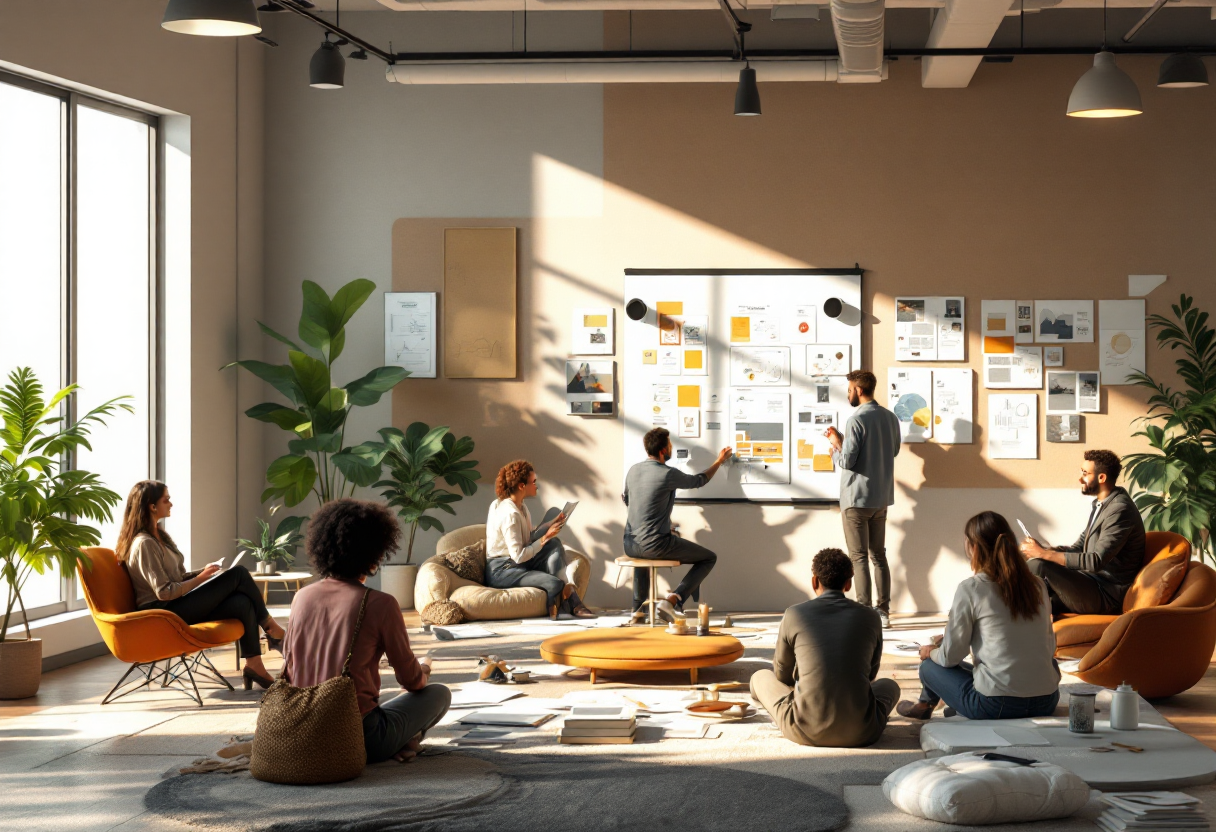
With a clear problem defined, the Ideate stage begins. This is a judgment-free brainstorming phase focused on generating a wide range of ideas. The goal is quantity over quality at this point, encouraging diverse and creative possibilities.
The Prototype stage is where ideas become tangible. A prototype is a low-cost, scaled-down representation of a potential solution. This crucial step helps everyone visualize the solution and test its viability before committing significant time and money to construction.
Finally, the Test stage involves presenting the prototypes to you, the client, to gather feedback. This is not about selling an idea; it’s about co-creating the best solution. It’s a critical loop that validates or invalidates ideas and ensures the final design truly works.
Understanding the distinction highlights why this human-centered approach is so effective for creating personalized homes.
Adopting a design thinking methodology isn’t just a philosophical choice; it delivers real, tangible benefits that you will appreciate for years to come.
Because the entire process starts with a deep understanding of you, the outcome is a home that is custom-fit to your lifestyle. It’s the difference between a house that you adapt to and a home that is adapted for you, making everyday life more seamless and enjoyable.
The “prototype and test” phases are designed to catch issues when they are just ideas on paper or pixels on a screen. Identifying that a layout feels cramped or a material isn’t right before orders are placed or walls are built saves you immense stress, time, and money.
Design thinking demystifies the design process and makes you an essential collaborator. You are not just a client receiving a service; you are a co-creator in the journey of shaping your home. This empowerment leads to a greater sense of ownership and satisfaction with the final result.
By focusing on your unique problem statement (“How might we…”), design thinking pushes beyond generic, trend-based solutions. It encourages creativity and can lead to truly innovative features or layouts that you may have never considered, resulting in a home that is uniquely yours.
Even if you’re not undertaking a major renovation, you can use these principles to improve your own space.
For one week, keep a “home diary.” Use a notebook or your phone to jot down small moments of frustration or joy in your space. Examples: “Always tripping over shoes at the entryway.” “The afternoon sun in the living room is beautiful but creates too much glare on the TV.”
Look at your diary and pick the biggest frustration. Turn it into a “How might I…” question. For instance, the shoe problem becomes: “How might I create an organized and efficient system for shoes at the entryway so it’s no longer a cluttered drop-zone?”
Grab a piece of paper or open Pinterest and brainstorm every possible solution to your question. For the entryway, this could be anything from a slim shoe cabinet, a vintage bench with storage underneath, wall-mounted racks, or even a custom-built solution. Don’t filter your ideas yet.
You don’t need fancy software. The simplest prototype is painter’s tape. Want to see if a 30cm-deep console table will fit in your entryway? Tape its dimensions out on the floor. This low-cost prototype immediately tells you how it will impact the walkway.
Live with your painter’s tape prototype for a few days. Walk past it. See how the new flow feels. Does it make the space feel too tight? Or does it confirm that you have enough room? This simple test will give you the confidence to either buy the furniture or go back to the ideation stage, having spent nothing.
The five steps of design thinking—Empathize, Define, Ideate, Prototype, and Test—provide a powerful framework for creating spaces with intention and purpose. This methodology transforms the role of an architect or interior designer from simply delivering a “look” to facilitating a collaborative journey that results in a truly human-centered home.
By focusing on your life, solving your unique problems, and testing solutions before they are built, what is design thinking in interior design becomes clear: it is the most reliable path to creating a home that is not just designed to be looked at, but is perfectly designed to be lived in.
Ready to create a space that’s designed not just to be looked at, but to be lived in? Contact our team at JOYA Architects to learn how we apply the design thinking process to every project.


